
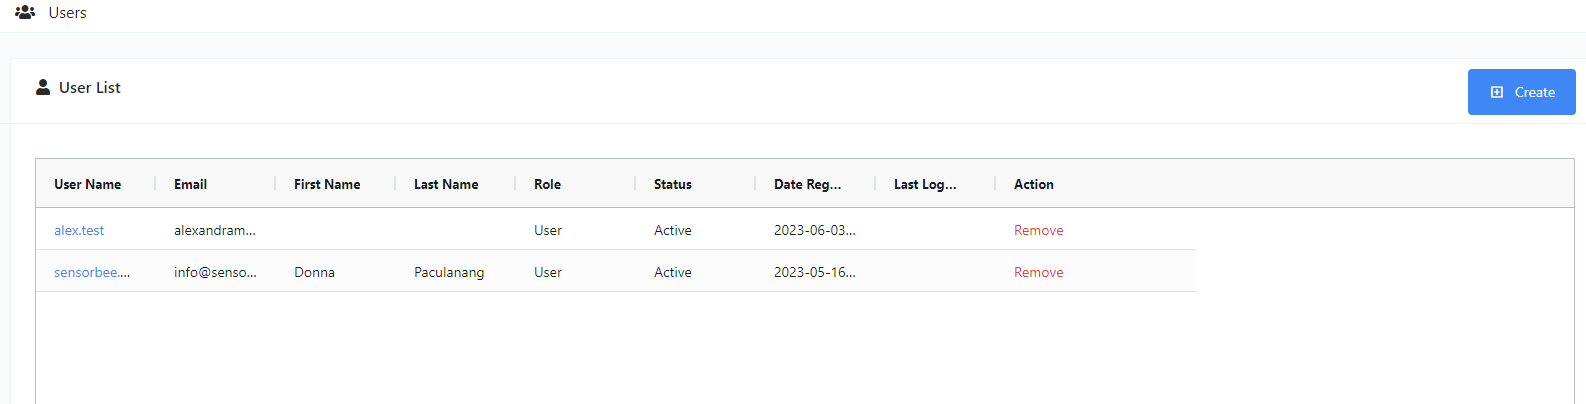
User Management allows administrators to create, update, and delete user accounts, as well as manage their access rights to base units and sensors. This powerful tool ensures that each user has the appropriate level of access within the Sensorbee platform.
Create New User
- To create a new user, click on the +create button, and a modal will show up.
- Then you just need to provide the following required details:
- First name
- Last Name
- Username
- Role
- Timezone
- Password
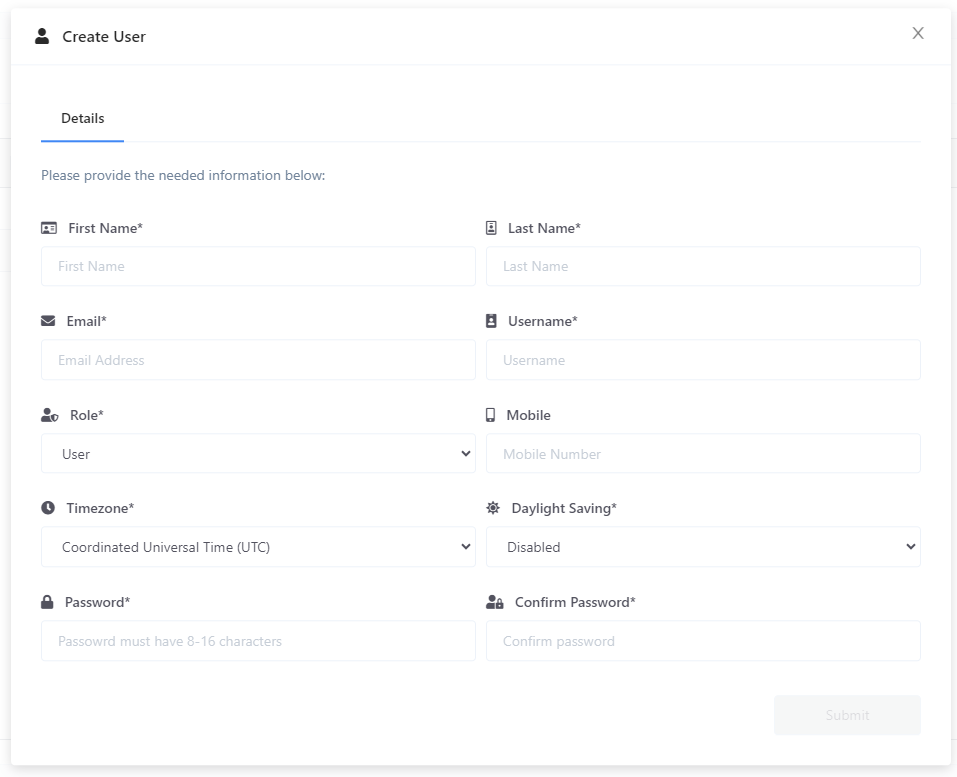
- Once done, the newly created user will be added to the user list. Click on its name to show the “Manage User” modal.
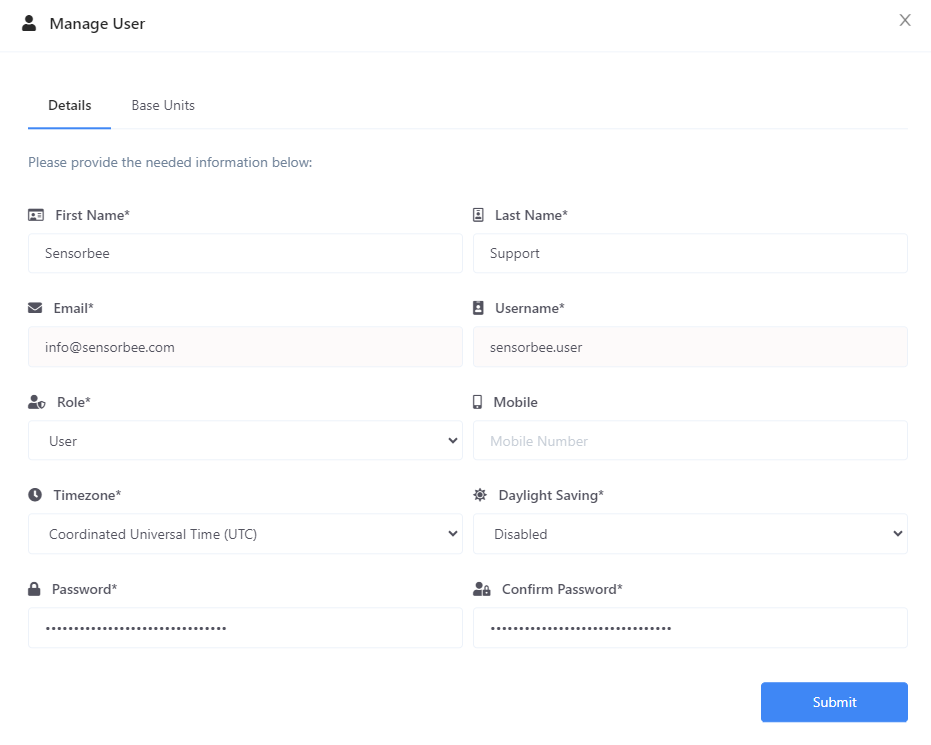
Update User
- To update the details of a user, simply look for the user from the list and click on its name to show the “Manage User” modal.
- Update the necessary fields and click submit to save the changes.
- You can also change the password from this modal.
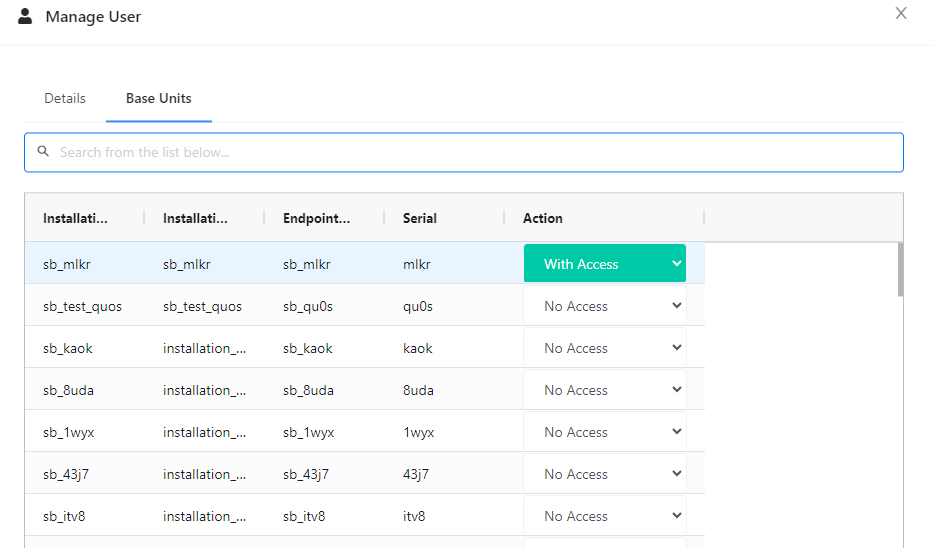
Assign / Restrict Base Units
- Then go to the “Base Units” tab to assign devices. Under the “Action” column, change the “No Access” to “With Access” to grant access to a device.
Note: You can only update the user access to a base unit when the user account is already created. The “Base Units” tab is not available from the Create User modal.
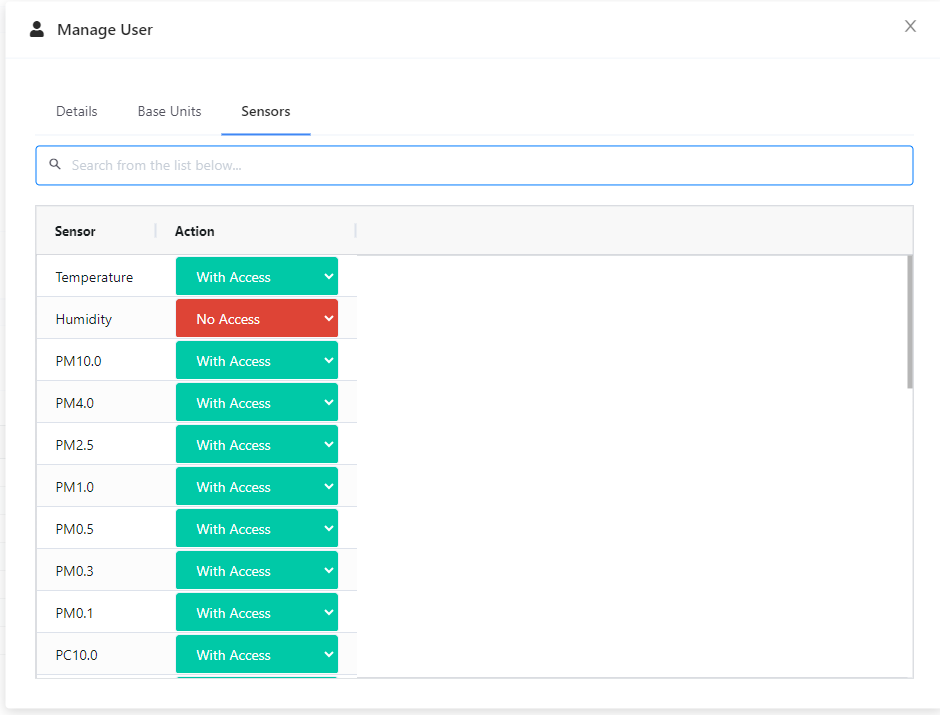
Assign / Restrict Sensors
- You can also restrict the sensors that the user can view or access. Just go to the “Sensors” tab and update the access rights under the “Action” column. By default a newly created user has access to all sensor types.
Note: You can only update the user access to a sensor when the user account is already created. The “Sensors” tab is not available from the Create User modal.
Delete User
- To delete a user from your organization, simply look for the user from the list and click “Remove” from the “Action” column.
- You will be asked to confirm your action, but simply click “Ok” to continue.