
There are various types of gas sensors available, Sensorbee only utilizes the following types today.
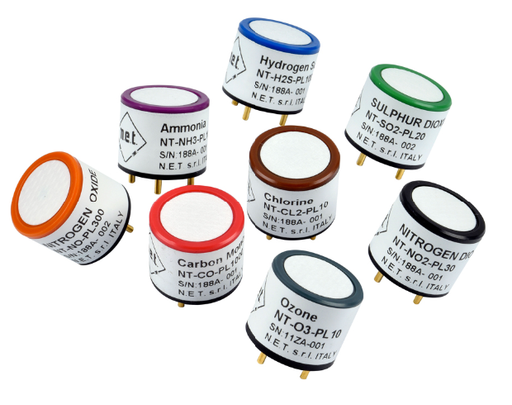
Electrochemical Gas Sensor
Electrochemical gas sensors are designed to use a chemical reaction to measure the concentration of a specific gas in an environment. This technology has been used in industry for many years. They work by reacting with the specific gas and producing an electrical signal proportional to the gas concentration.
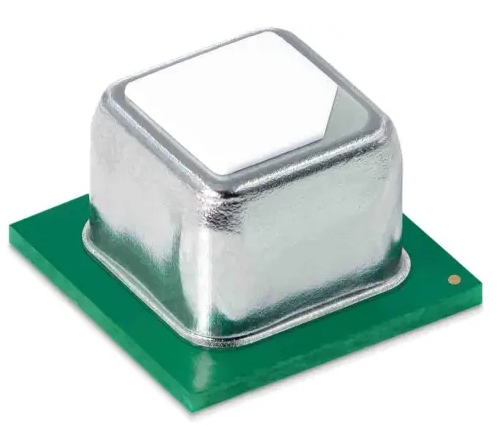
Photoacoustic Gas Sensor
Photoacoustic Spectroscopy is a method which analyzes the photoacoustic effect of specific gases like Carbon Dioxide (CO2). This sensor type is based on the fact that light is absorbed by the molecules of a specific gas (CO2 in our case). The modulated light is converted into an acoustic wave which is then detected by a microphone, and lastly converted into an electric signal.

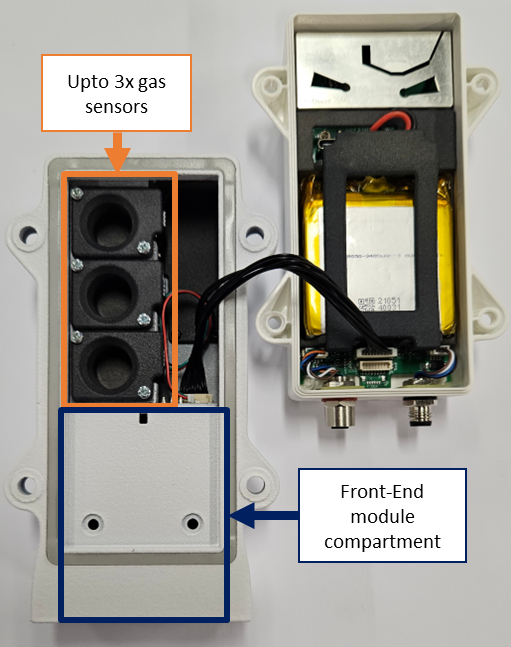
In our Sensorbee Pro series, both the Cellular and Modbus variants have the capability to support up to three gas sensors, providing versatility in monitoring various atmospheric gases. These gas sensors offer precise measurements and can detect a range of gases based on their specific designs and applications. It's important to note that the Sensorbee Lite series does not support any gas sensors.
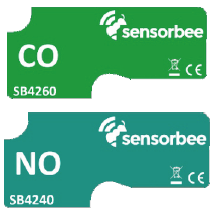
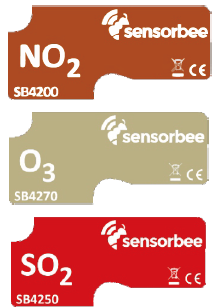
In our Sensorbee Pro series, we can measure the following gases:
- Carbon Dioxide (CO₂) (SB3541): Essential for monitoring indoor air quality and ventilation effectiveness.
- Nitrogen Dioxide (NO₂) (SB4200): Commonly found in emissions from vehicles and industrial processes.
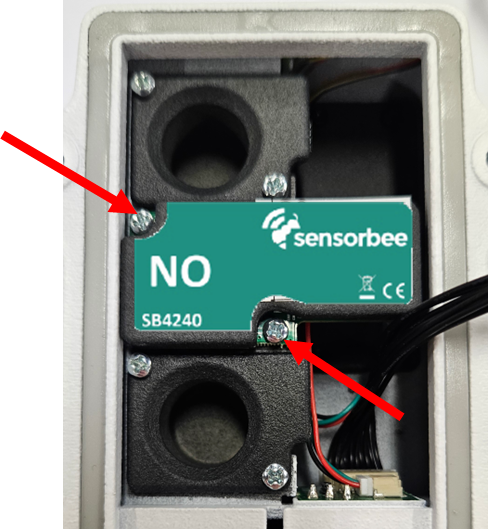
- Nitric Oxide (NO) (SB4240): Often a precursor to NO₂ and originates from combustion processes.
- Sulfur Dioxide (SO₂) (SB4250): Primarily produced from the burning of fossil fuels in power plants and other industrial processes.
- Carbon Monoxide (CO) (SB4260): A harmful gas produced from incomplete combustion.
- Ozone (O₃) (SB4270): A key component of smog and can be harmful at high concentrations.
For detailed specifications and performance data on each gas sensor, refer to the respective datasheet.
Installation
Our gas sensors are specifically designed for compatibility with the Sensorbee Pro series and are not suitable for the Lite variants. These sensors are housed within the dedicated sensor compartment to ensure accurate and consistent measurements.
To install, replace, or remove a gas sensor, please follow the steps outlined below
If the unit is connected to an external power source, such as a power supply or solar panel, ensure to turn off the power. For Air Pro units, the status LED will illuminate red for 10 seconds and then turn off, signaling it's safe to proceed. For Modbus units, disconnect the incoming power from the terminal block to ensure the power is completely off.
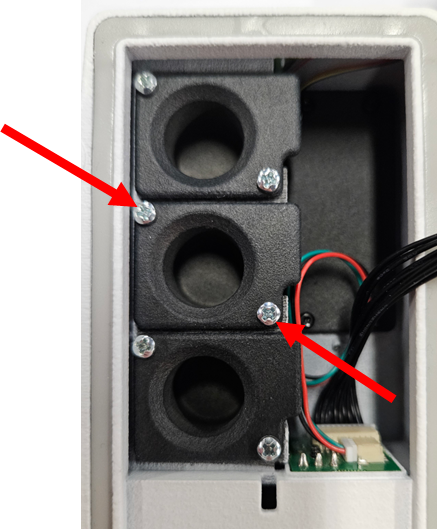
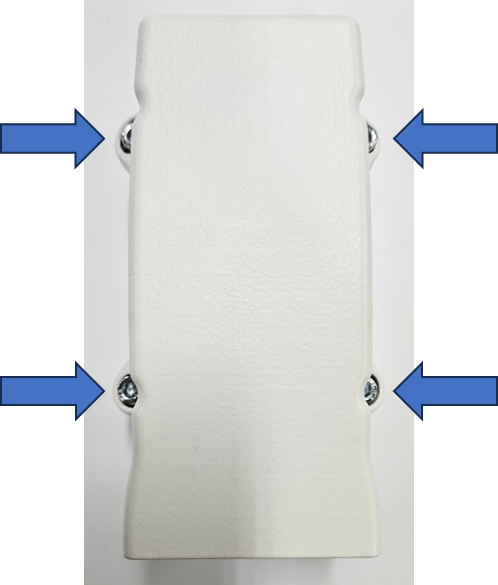
Use an PH2 Phillips screwdriver to unscrew the sensor-house from the base as shown in figure 6.

Place the sensor-house upside down next to the base, without disconnecting the cable between them as shown in figure 7.
To remove the plugs or old gas sensors, use a small Phillips head screwdriver as shown in Figure 8.
Use a small plier to remove the plug or old gas sensor. For the old gas sensor, use the pliers shown in Figure 9 to grip the edges of the casing.
Make sure the new gas sensor is aligned with the mounting holes and pressed down before fastening the screws as shown in figure 9.
Use an PH2 Phillips screwdriver to screw the sensor-house back the base as shown in figure 10.
Double check that the cable between the sensor-house and base does not get squeezed in the seal between them.
The gas sensors need to stabilize when the device is powered on. This may take several hours.