This section describes the process and parameters needed when bootstrapping a device to Sensorbee’s LwM2M Server.
Scanning the QR Code
When you scan the QR code from the sticker attached in your device, you will be redirected to this url: https://console.sensorbee.com/setup/<peeringcode>
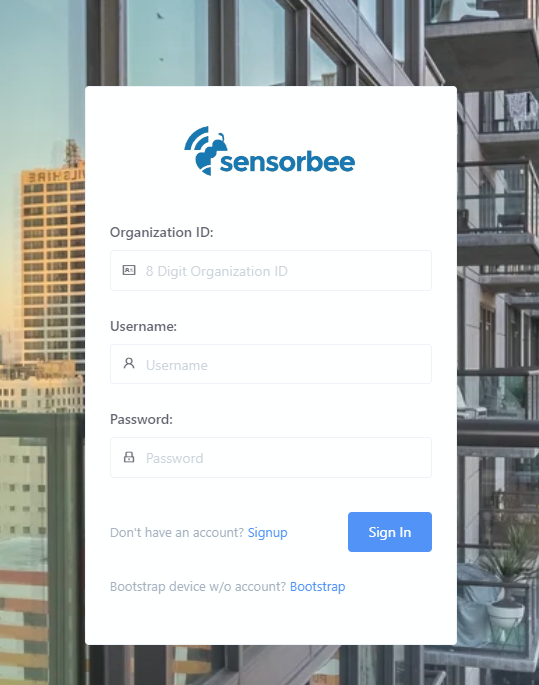
Step 1: If you are NOT logged-in, you will be prompted with this message:

Step 2: Since this section talks about Sensorbee, you will select “Use Sensorbee LwM2M”. Then you will be redirected to the login page. You’re required to login so your device will be registered to your account. (Note: If you are already logged-in before you scanned the QR, step 1 and 2 will be skipped)
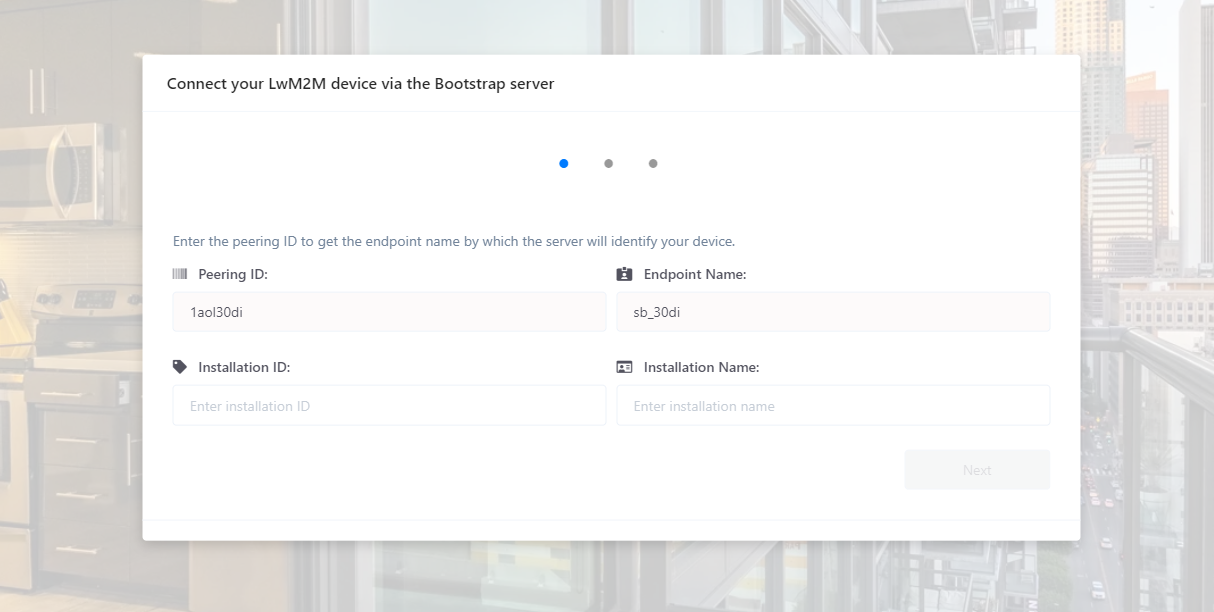
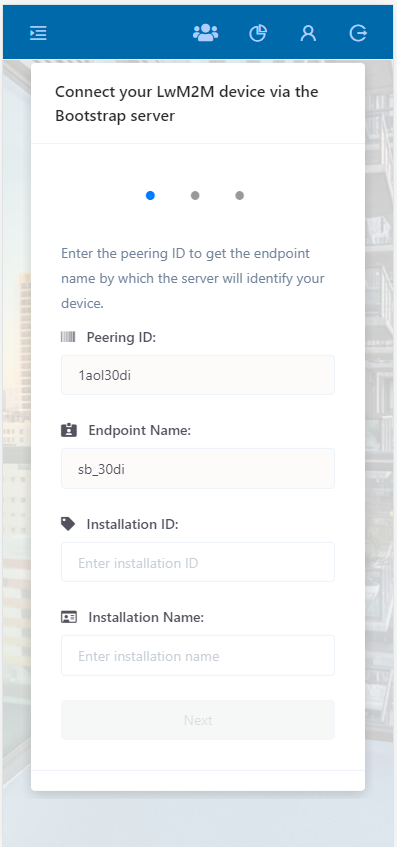
Step 3: Once login, you will be redirected to the setup page. The Peering ID and the endpoint name will be prefilled for you, so all you need to enter is the Installation ID and name you want to assign to the device.
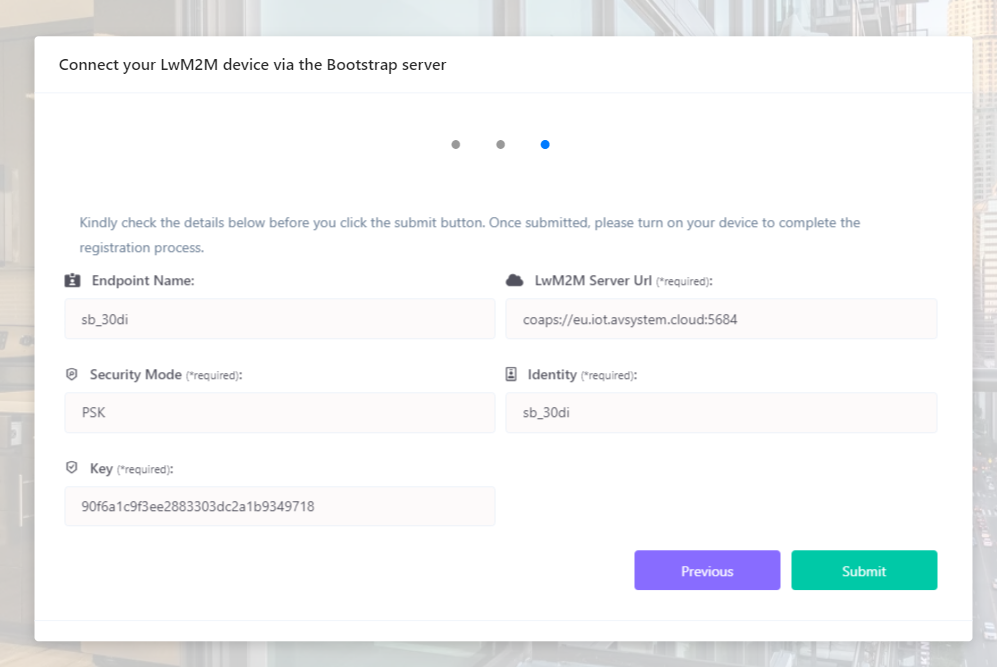
Step 4: In this step, you will be shown with the LwM2M server details such as the server url, security mode and Pre-shared key. By default all of these are prefilled for you so you don’t have to do anything, unless you want to change the value of the Pre-Shared Key. Also, since you selected “Use Sensorbee LwM2M” you may notice that the LwM2M server is set to “Sensorbee AvSystem”.

Step 5: This step is for the summary of details. You may review the details before you click submit.
Step 6: After you click submit, the bootstrap process will start. Once done, you will see these prompts:
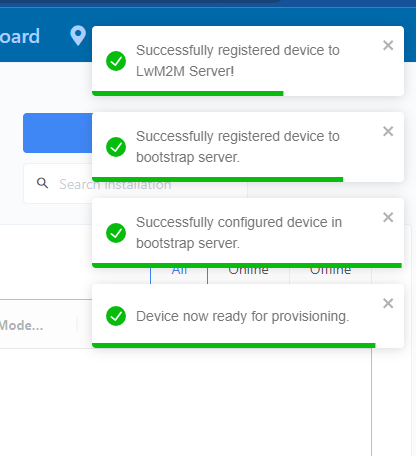
Step 7: Now all you need to do is to turn on the device for it to start sending values.
Additional Information:
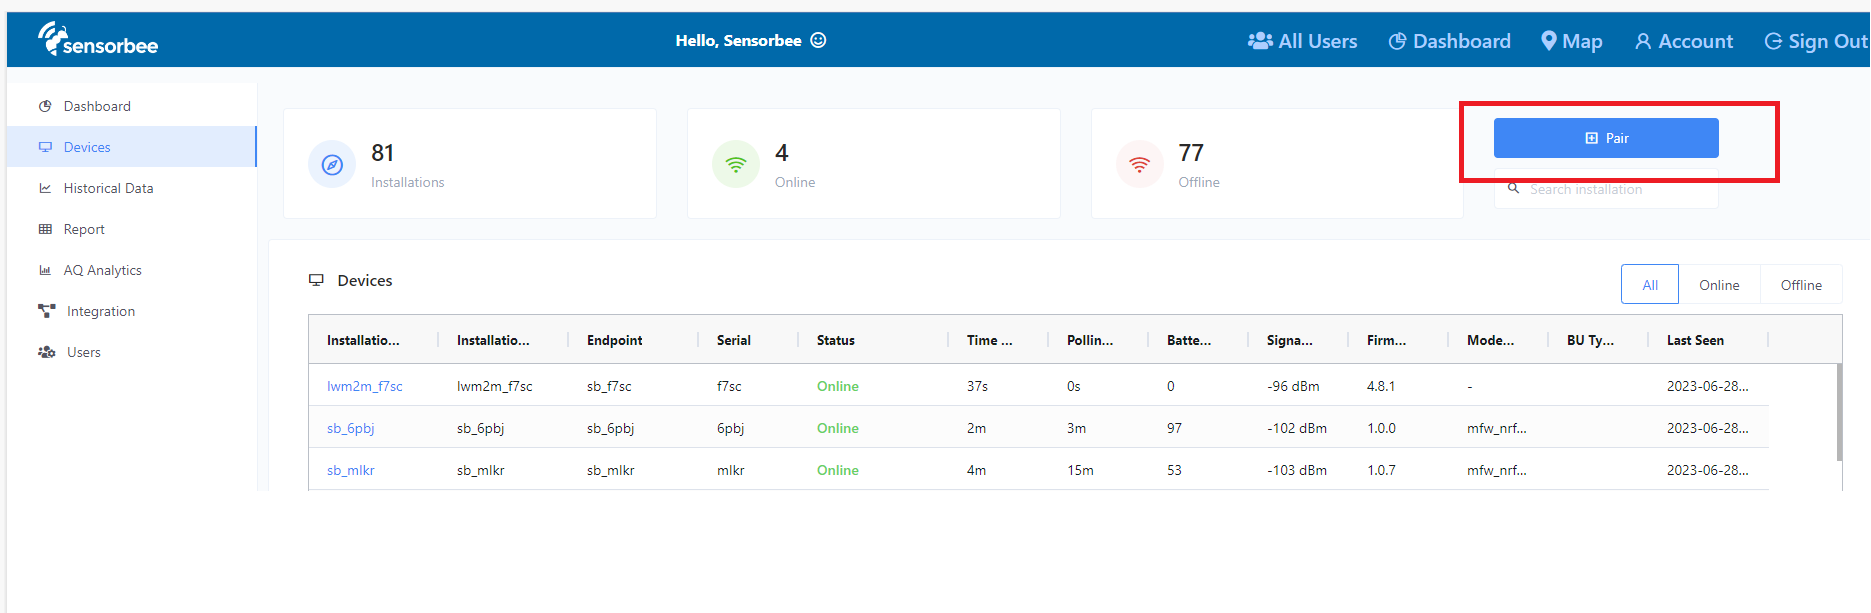
The process shown above is by scanning the QR code. However, in the dashboard you can also add a new device without scanning. Just go to the “Devices” page and click the “Pair” button at the top-right of the screen.