The REST API allows users to access data on-demand, providing a flexible and scalable integration option. Users can retrieve data from the server by making an HTTP GET request, or do updates by making an HTTP POST request, allowing them to do the actions they need programmatically. This type of integration is useful for applications that do not require up-to-the-moment data, such as those used for historical analysis or reporting.
Requirements:
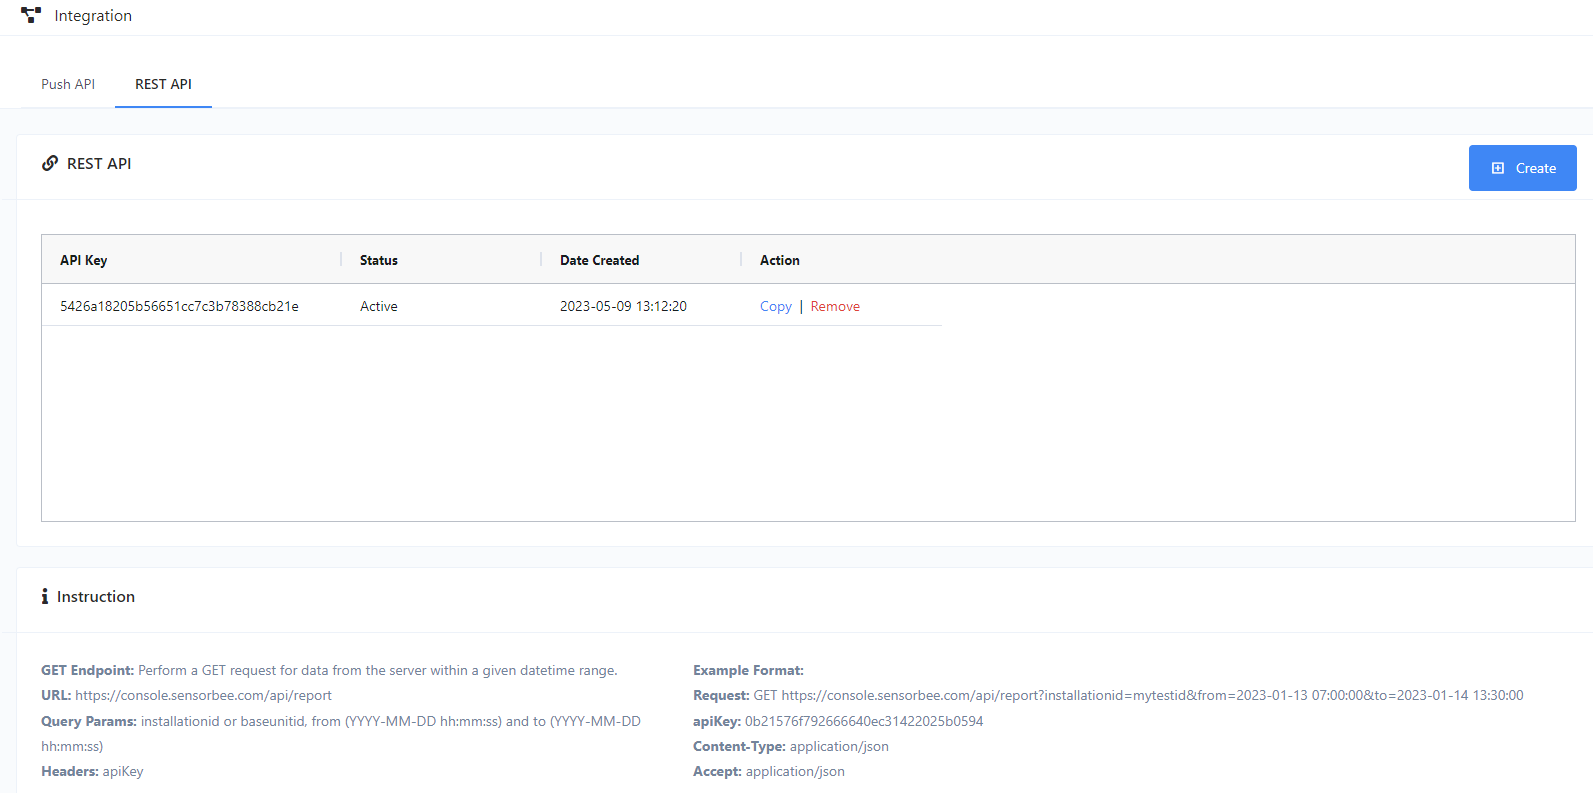
- API Key - A system generated security key that allows users to authenticate their HTTP GET / POST requests. This can be obtained from the portal.
Available Endpoints
The following are the available GET / POST API endpoints, that users can utilize according to their needs:
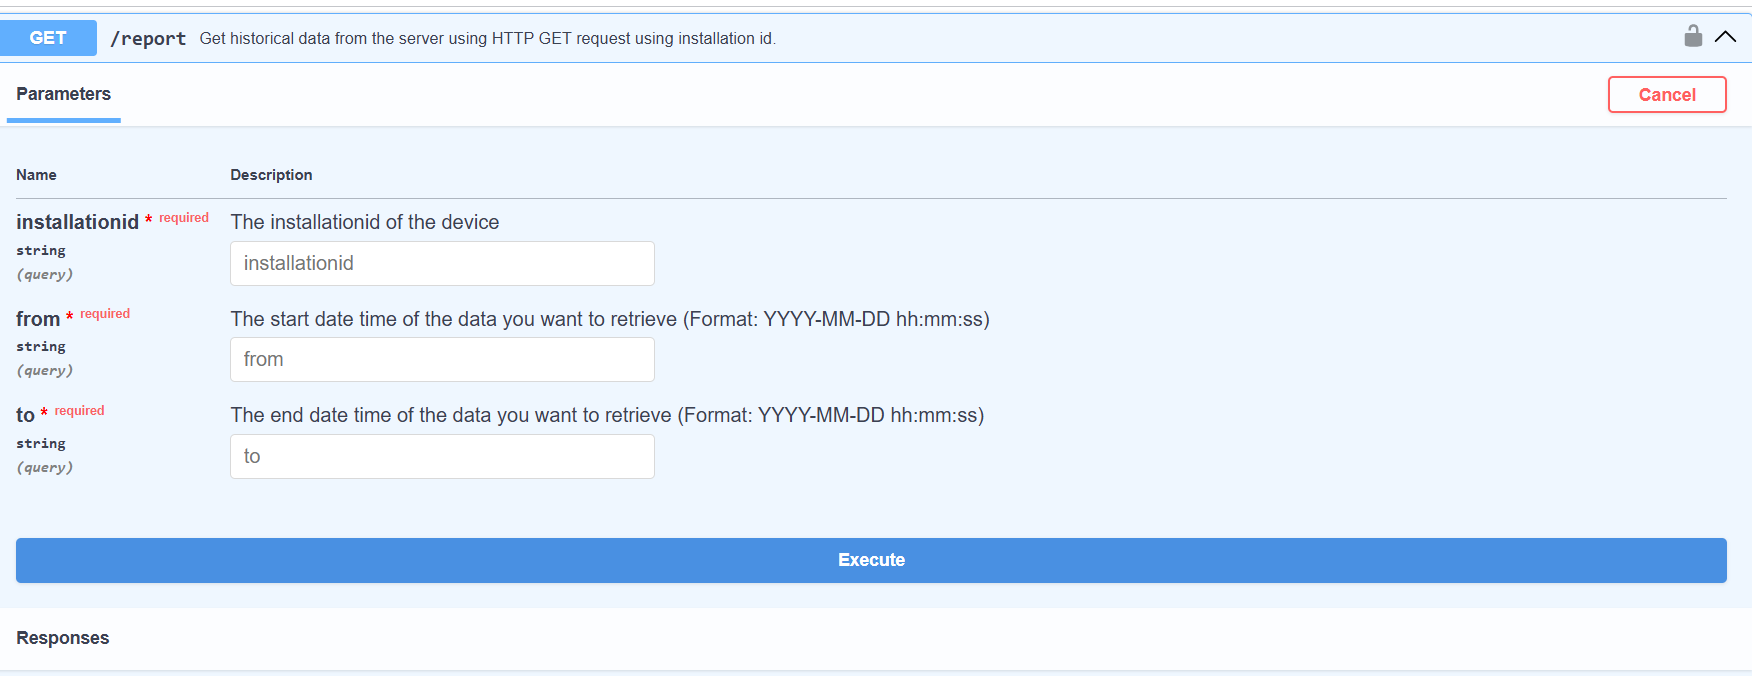
- /report
- Get historical data from the server using HTTP GET request.
- URL: https://console.sensorbee.com/api/report
- Action: GET
- Header Parameter:
- apiKey - in the header param of the GET request, enter the API key you generated from the portal.
- Query Parameters:
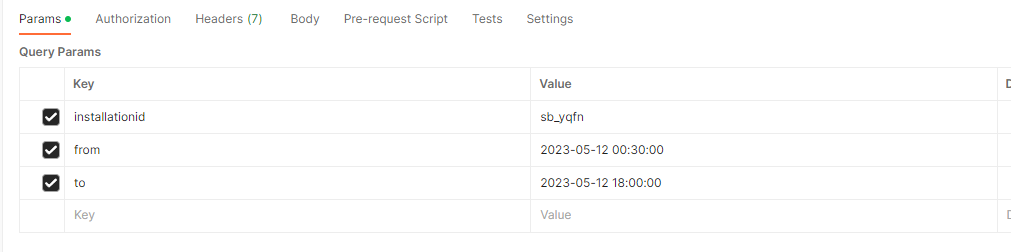
- installationid - the installationid of the device
- baseunitid - you can also use the base unit id / device serial as an alternative to the installation id.
- from - the start date time of the data you want to retrieve (Format: YYYY-MM-DD hh:mm:ss)
- to - the end date time of the data you want to retrieve (Format: YYYY-MM-DD hh:mm:ss)
- Return
- The result will be in JSON using the Smart City Template.

- /device
- Get device information from the LwM2M server.
- URL: https://console.sensorbee.com/api/device
- Action: GET
- Header Parameter:
- apiKey - in the header param of the GET request, enter the API key you generated from the portal.
- Query Parameters:
- type - set to “get_info”
- Either one of the following (see device info)
- baseunitid - the device’s 4 digit serial
- installationid - the installation id assigned to the device
- endpoint_name - the endpoint name of the device in the LwM2M server
- Return
- The result will be in JSON containing the basic information, status, and connectivity of the device.


json{
    "information": {
        "serial_number": "z1js",
        "friendly_name": "sb_z1js",
        "domain": "/IoT/Sensorbee/customer1/",
        "manufacturer": "Sensorbee",
        "software_version": "1.2.0",
        "hardware_version": null,
        "firmware_version": "1.2.0",
        "modem_version": "mfw_nrf9160_1.3.5",
        "polling_interval": "300",
        "type": ""
    },
    "status": {
        "registration_state": "Registered",
        "last_seen": "2023-08-03T09:39:31.510Z",
        "power": {
            "name": "Battery",
            "value": "81"
        },
        "battery_level": "81"
    },
    "connectivity": {
        "network_bearer": "LTE-FDD cellular network",
        "radio_signal_strength": "-72",
        "ip_address": "100.83.5.215",
        "apn": "iot.1nce.net",
        "cell_id": "84917527"
    }

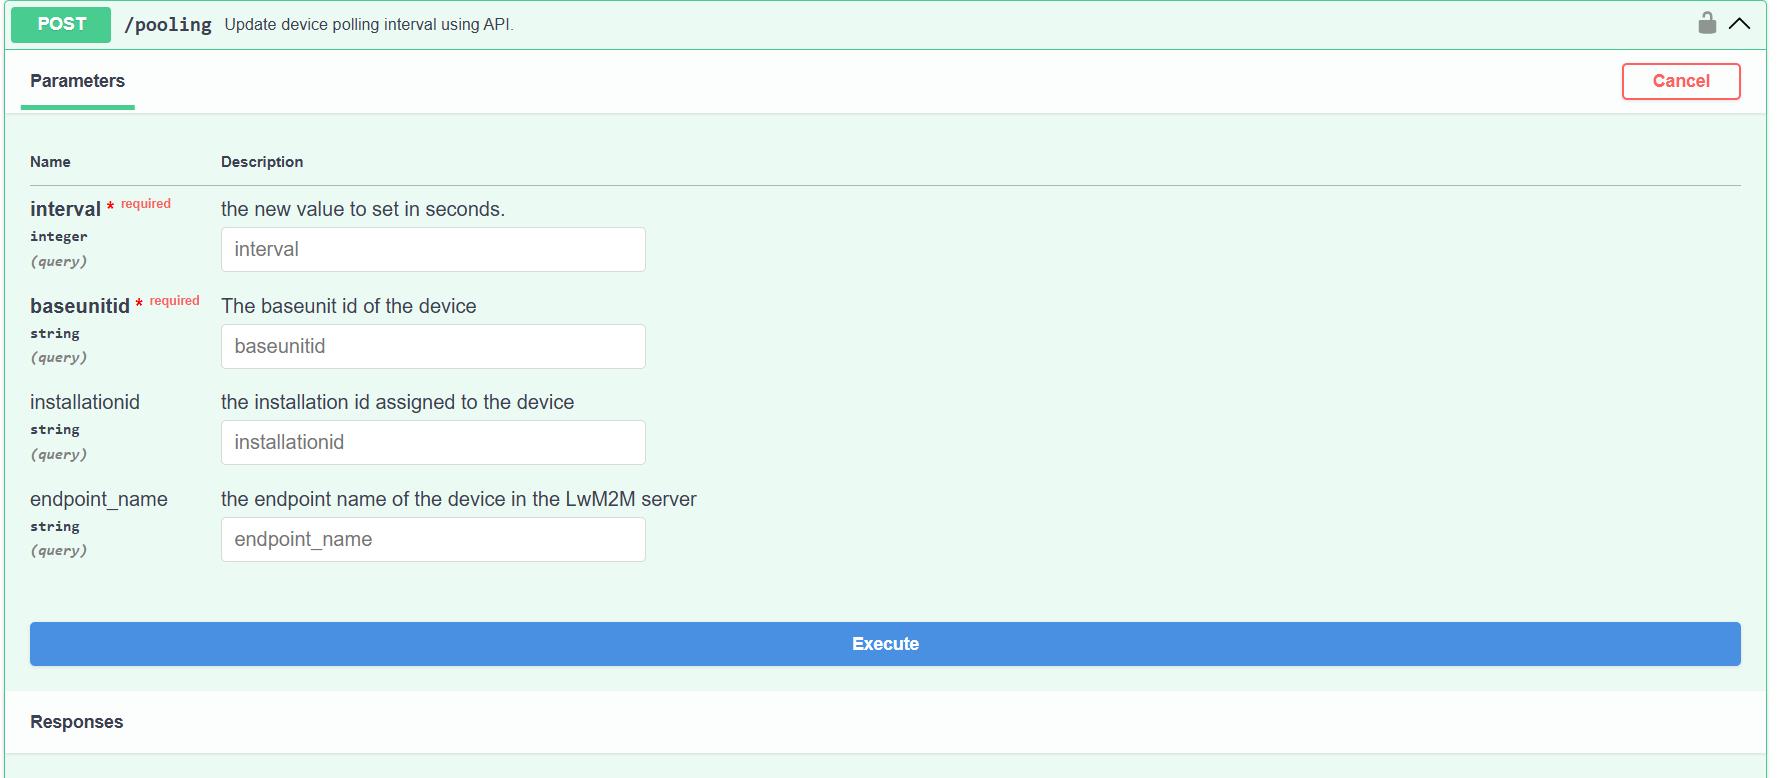
- /polling
- Update device polling interval using API.
- Action: POST
- Header Parameter:
- apiKey - in the header param of the GET request, enter the API key you generated from the portal.
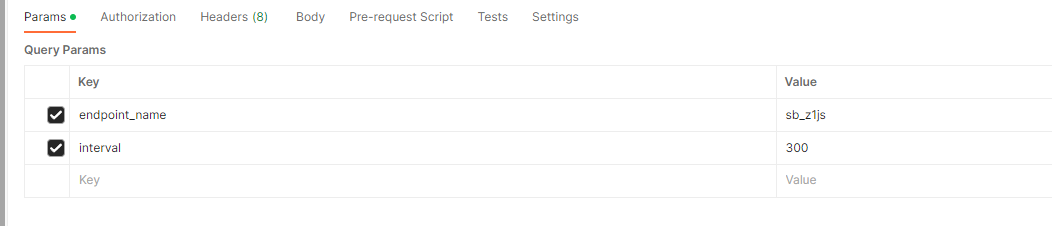
- Query Parameters:
- interval - the new value to set in seconds.
- Either one of the following (see device info)
- baseunitid - the device’s 4 digit serial
- installationid - the installation id assigned to the device
- endpoint_name - the endpoint name of the device in the LwM2M server
- Return
- When the request is successfully posted, the change won’t be applied until the next polling interval.

json{
    "message": "Updating polling interval.."
}