
This page allows user to easily import sensor data from reference station / device that will be used for calibrating a sensor. The user can import a file in .csv, .xlsx or .xls and must contain the necessary columns to properly map data to our database. This document will explain the process of how to import data correctly to our system.
Importing Reference Data
Step 1: Go to “Calibration” page and select the “Reference Data” tab.
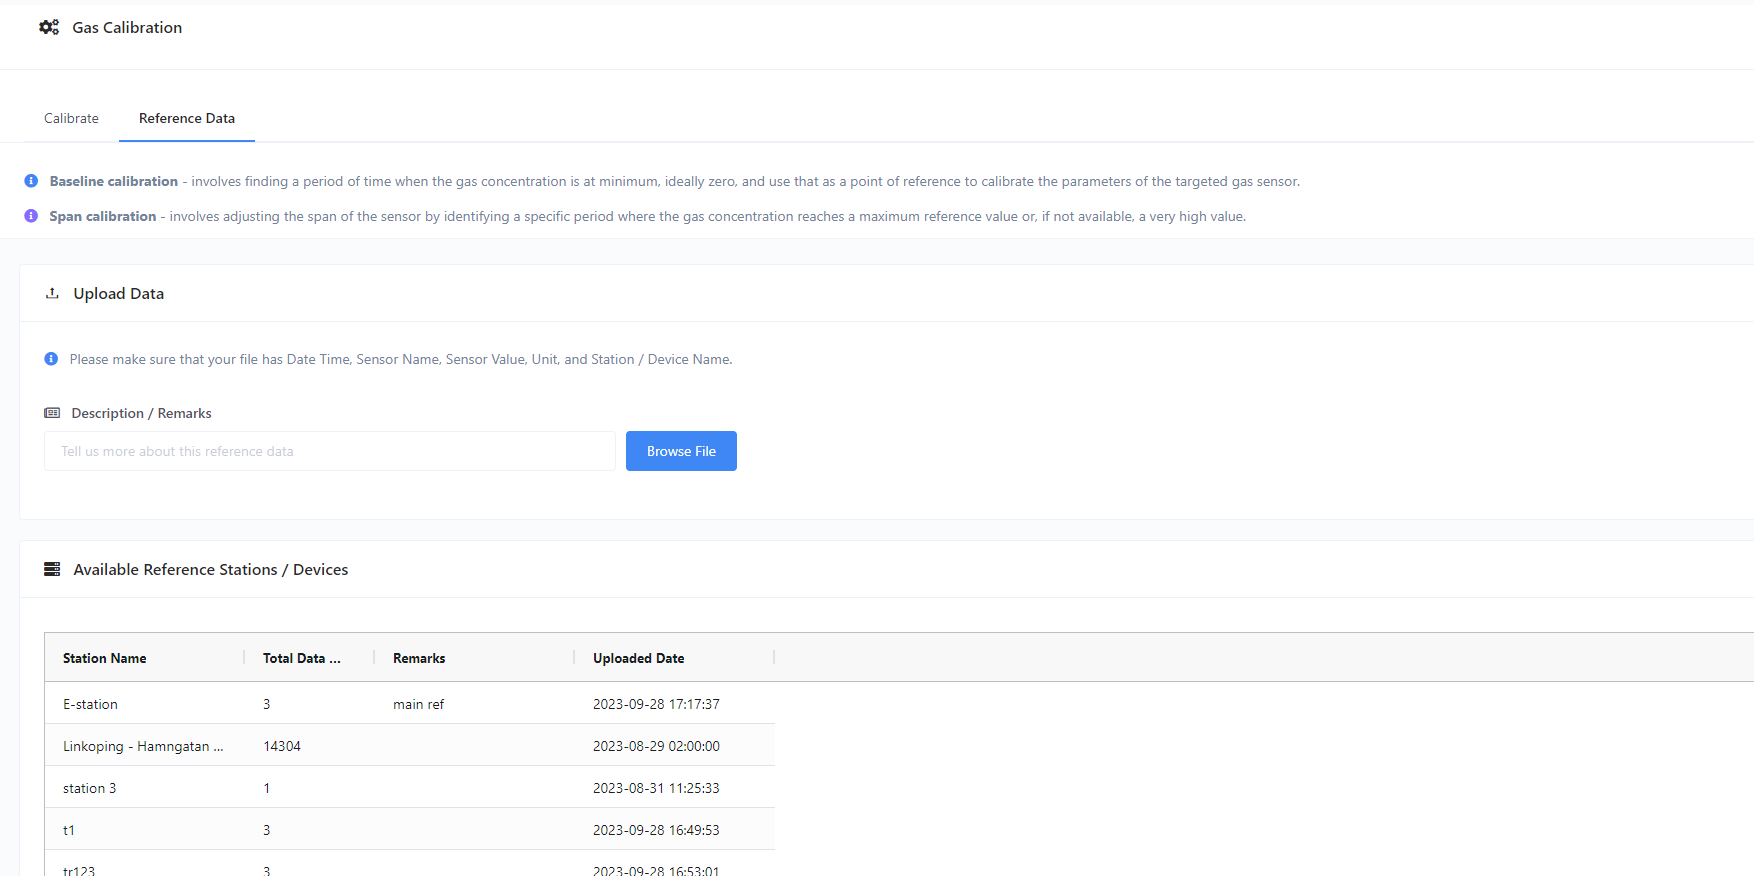
Step 2: You have the option to enter a remarks or description as additional reference to the set of data that you are about to upload. You can leave the field blank if you opted not to provide any remarks or description.
Step 3: Click the “Browse File” button. Then, a modal will appear.
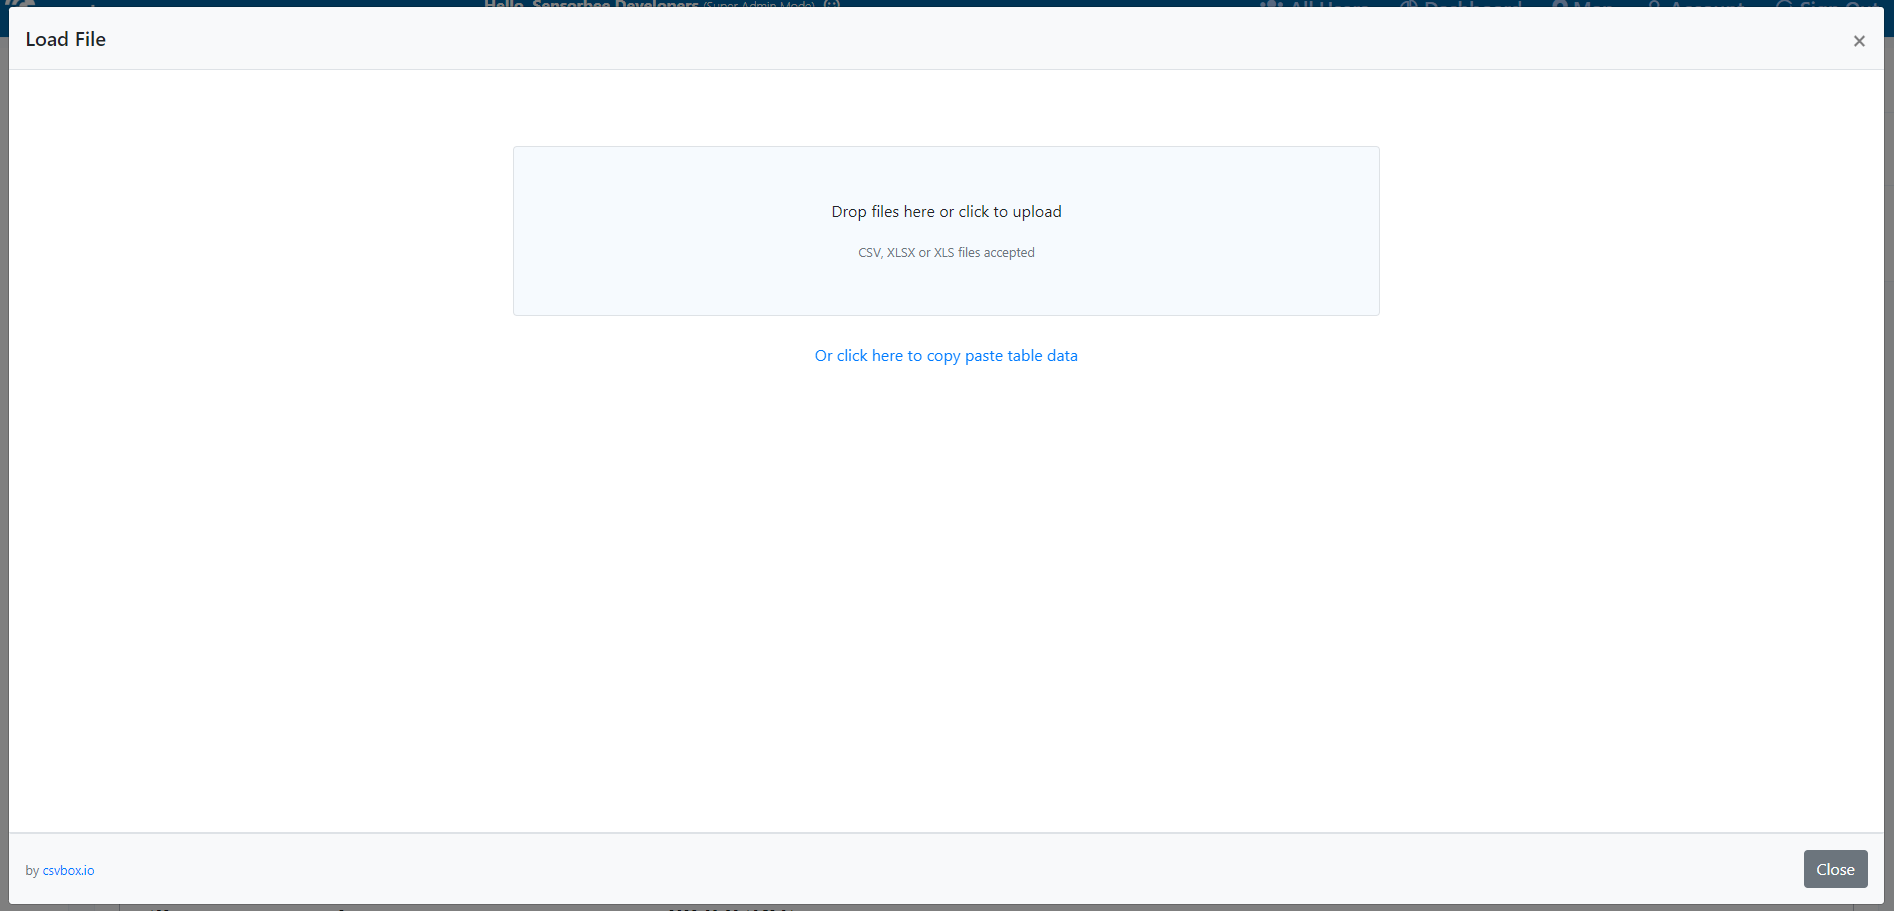
Step 4: Browse / look for the file that you want to upload, or you can simply drag it into the screen.
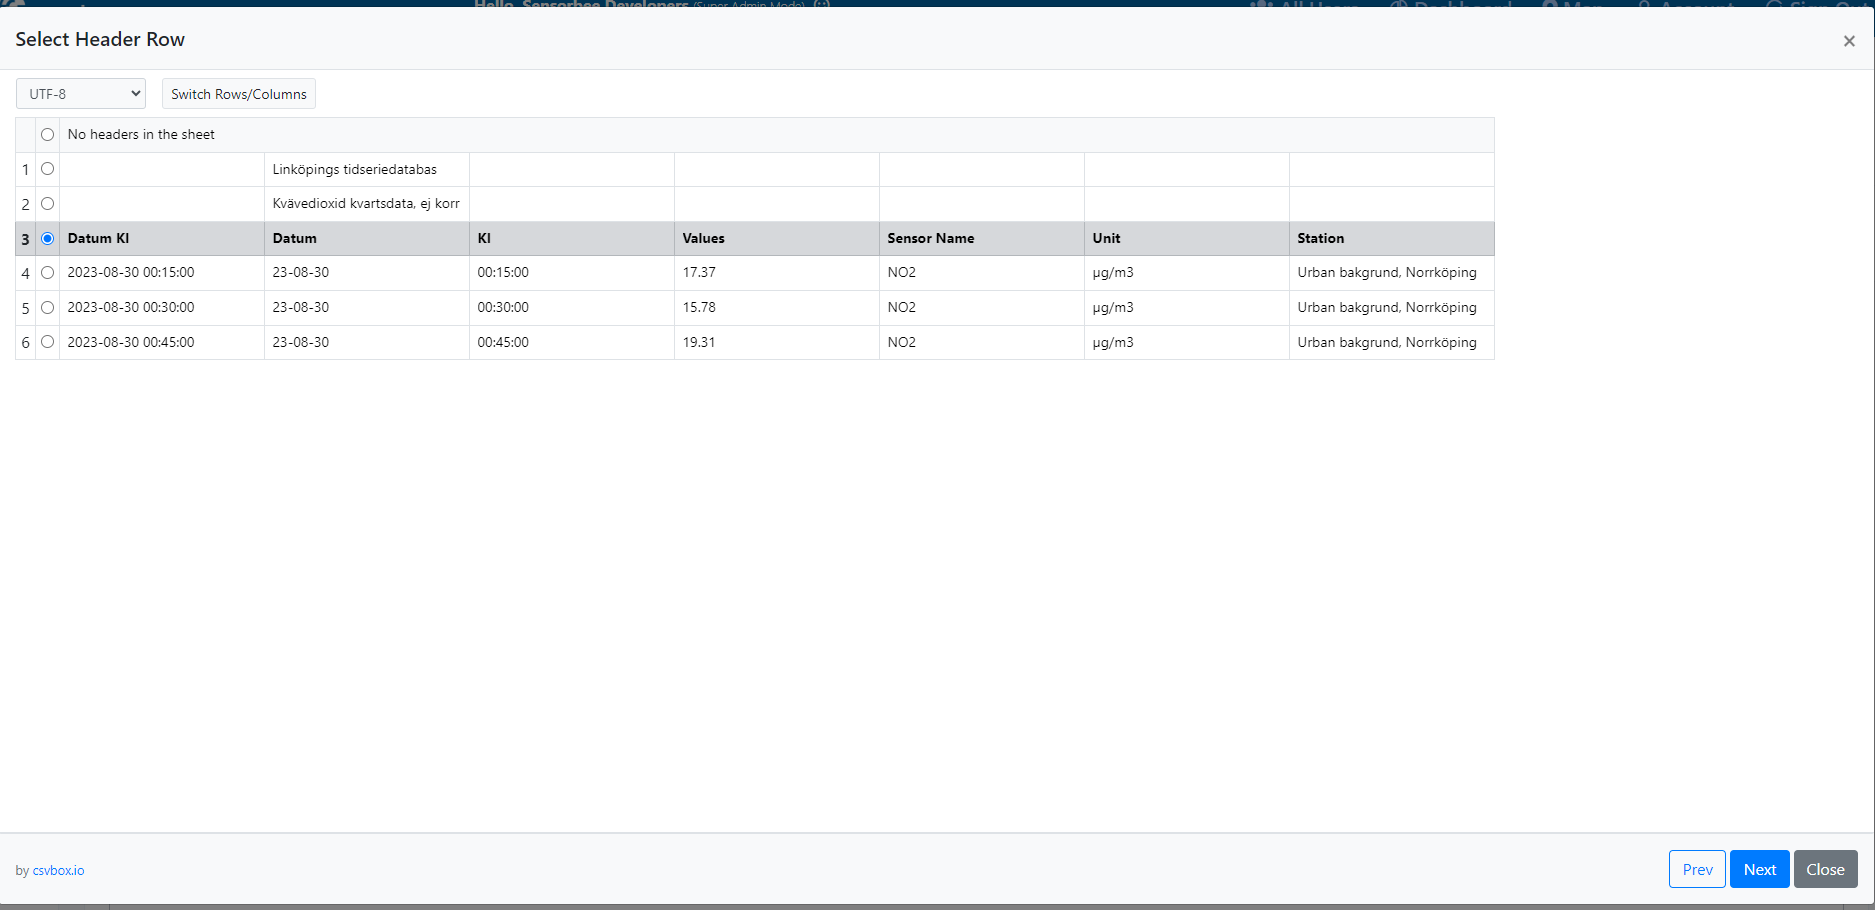
Step 5: Once found, the modal will show the file preview and will ask you to select a “Header Row”.
- Header row means, the row where the column header names are found. Please take note that this depends on how the content of your file is arranged or formatted. In this example the file has extra 2 rows (row 1 and 2) before the column header row.
- Once done, click “Next”.
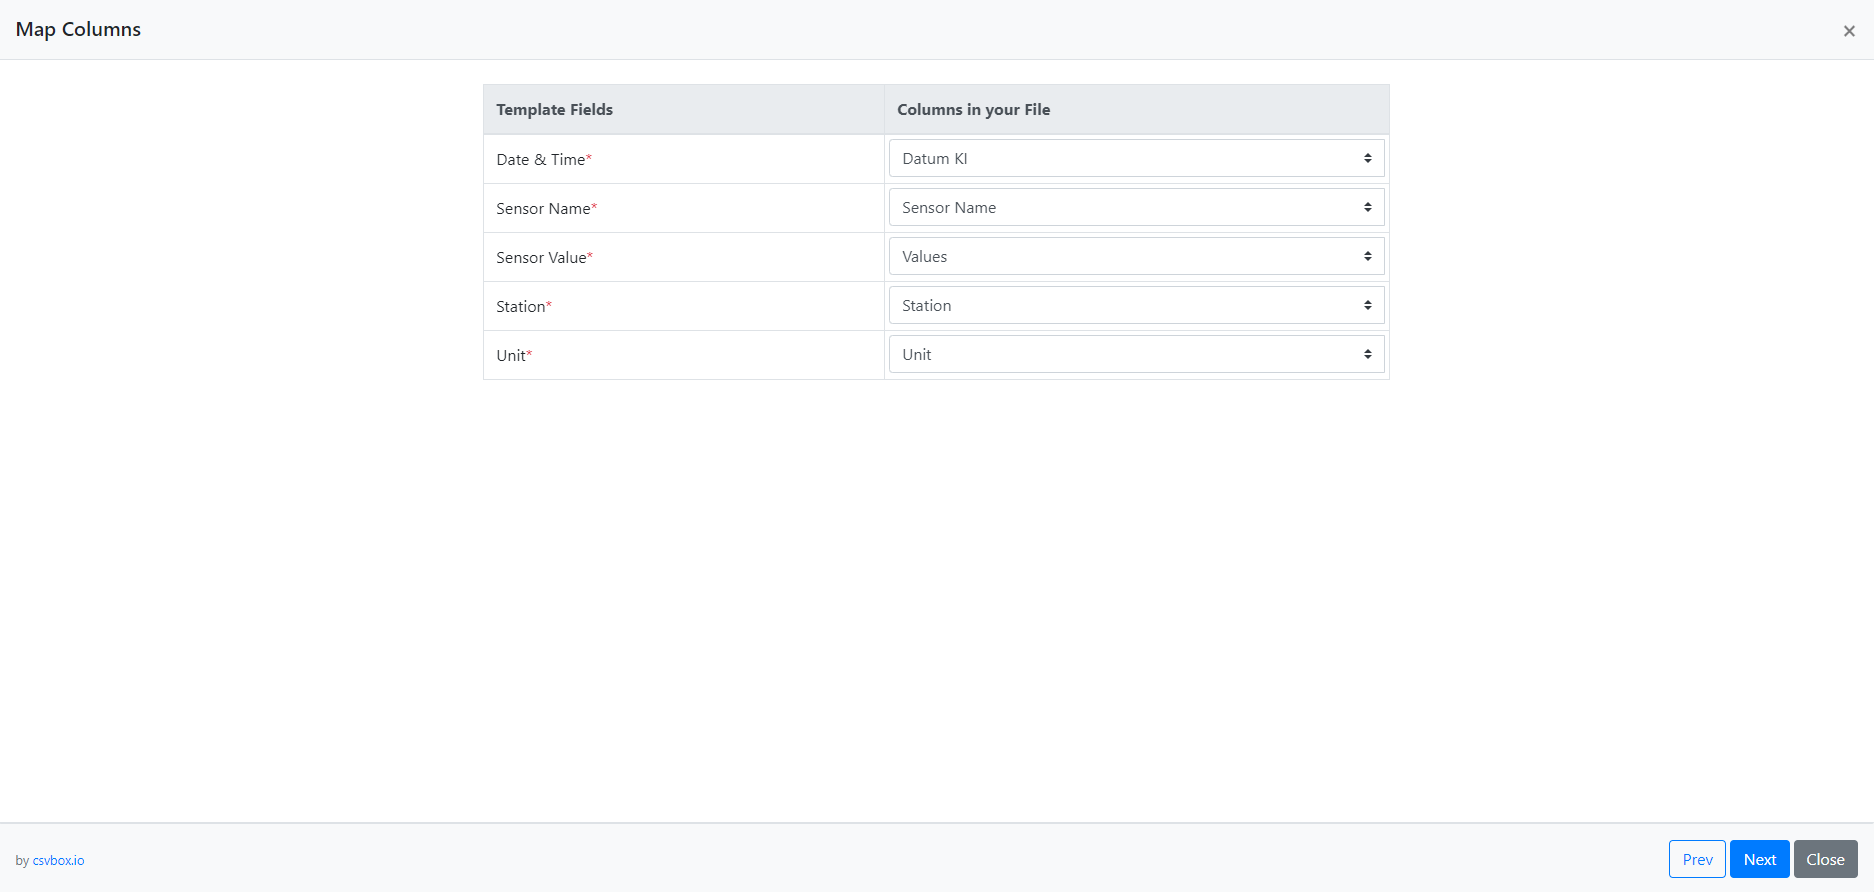
Step 6: In this step you will be asked to map the file columns to our database columns. Please take note of the required fields:
- Date & Time - Must follow the format YYYY-MM-DD hh:mm
- Sensor Name - Please follow the proper sensor naming below:
- NO2
- CO2
- O3
- SO2
- PM10
- PM2.5
- Sensor Values - The numeric value of the sensor reading.
- Station - The reference station name or reference device name.
- Unit - The unit of measurement. The system accepts the following:
- ppb
- ppm
- µg/m3
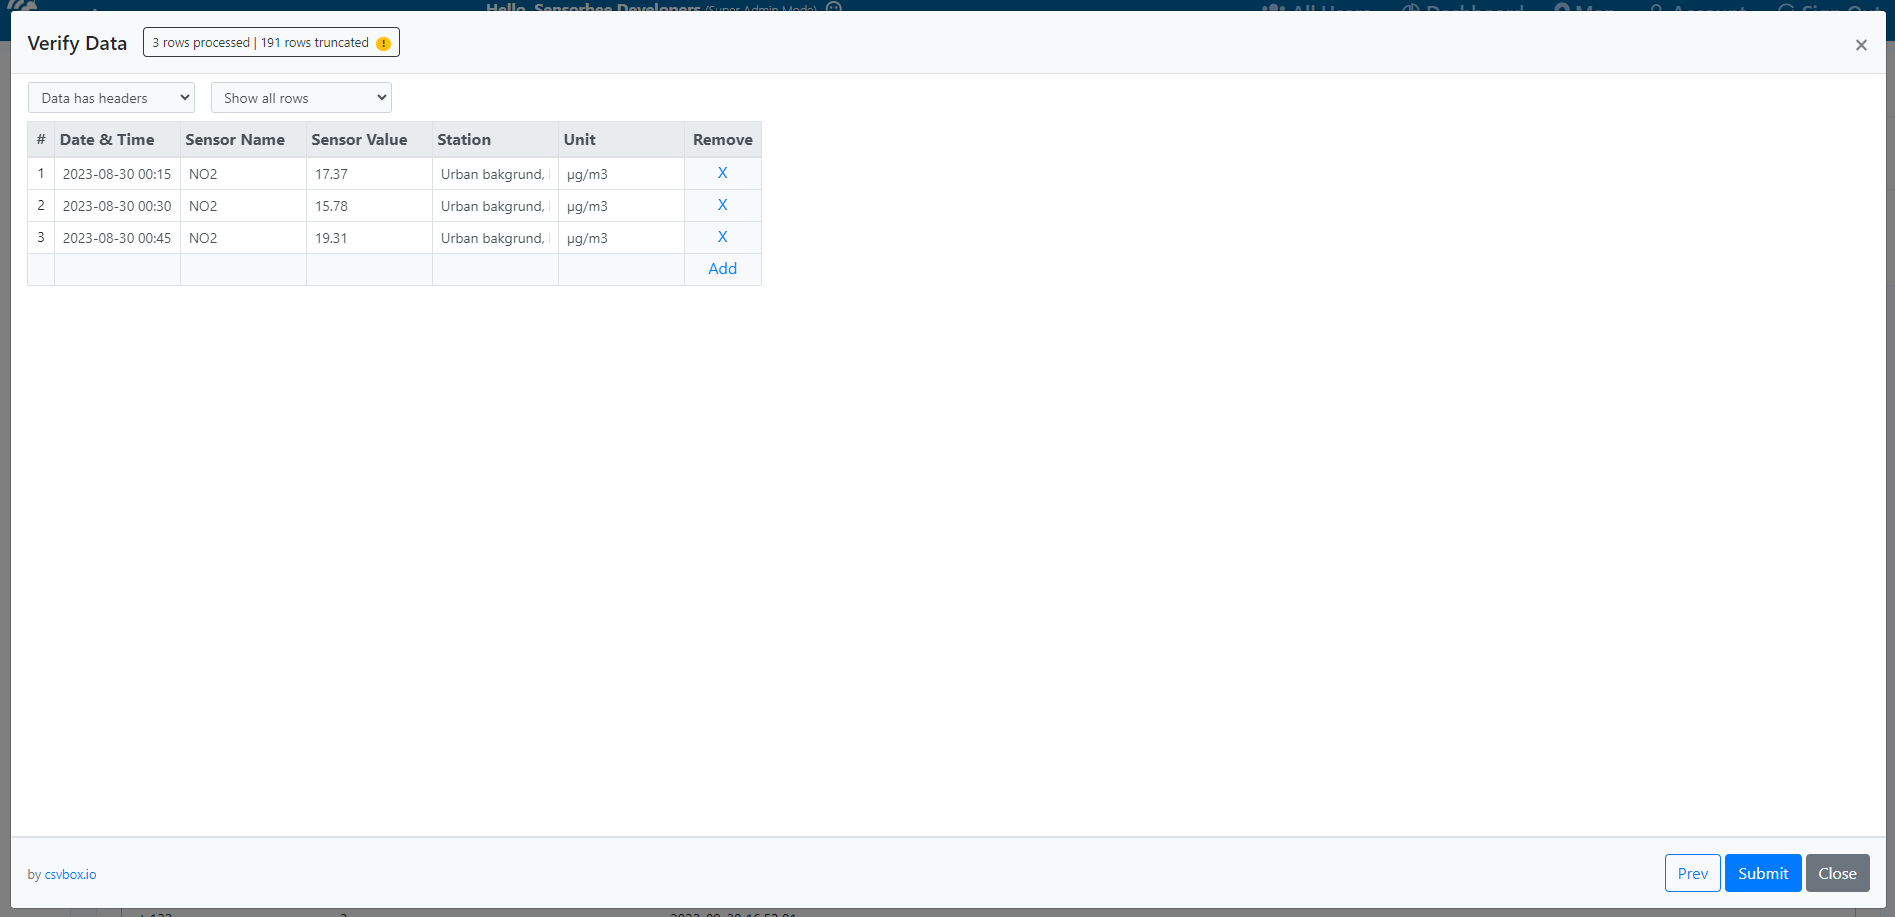
Step 7: In this step you will be asked to verify the data before uploading to the server. If any of the columns does not follow the proper or required format, an error message will be shown in the screen. If there’s none, then you are good to go. Click “Submit” once you’re done verifying.
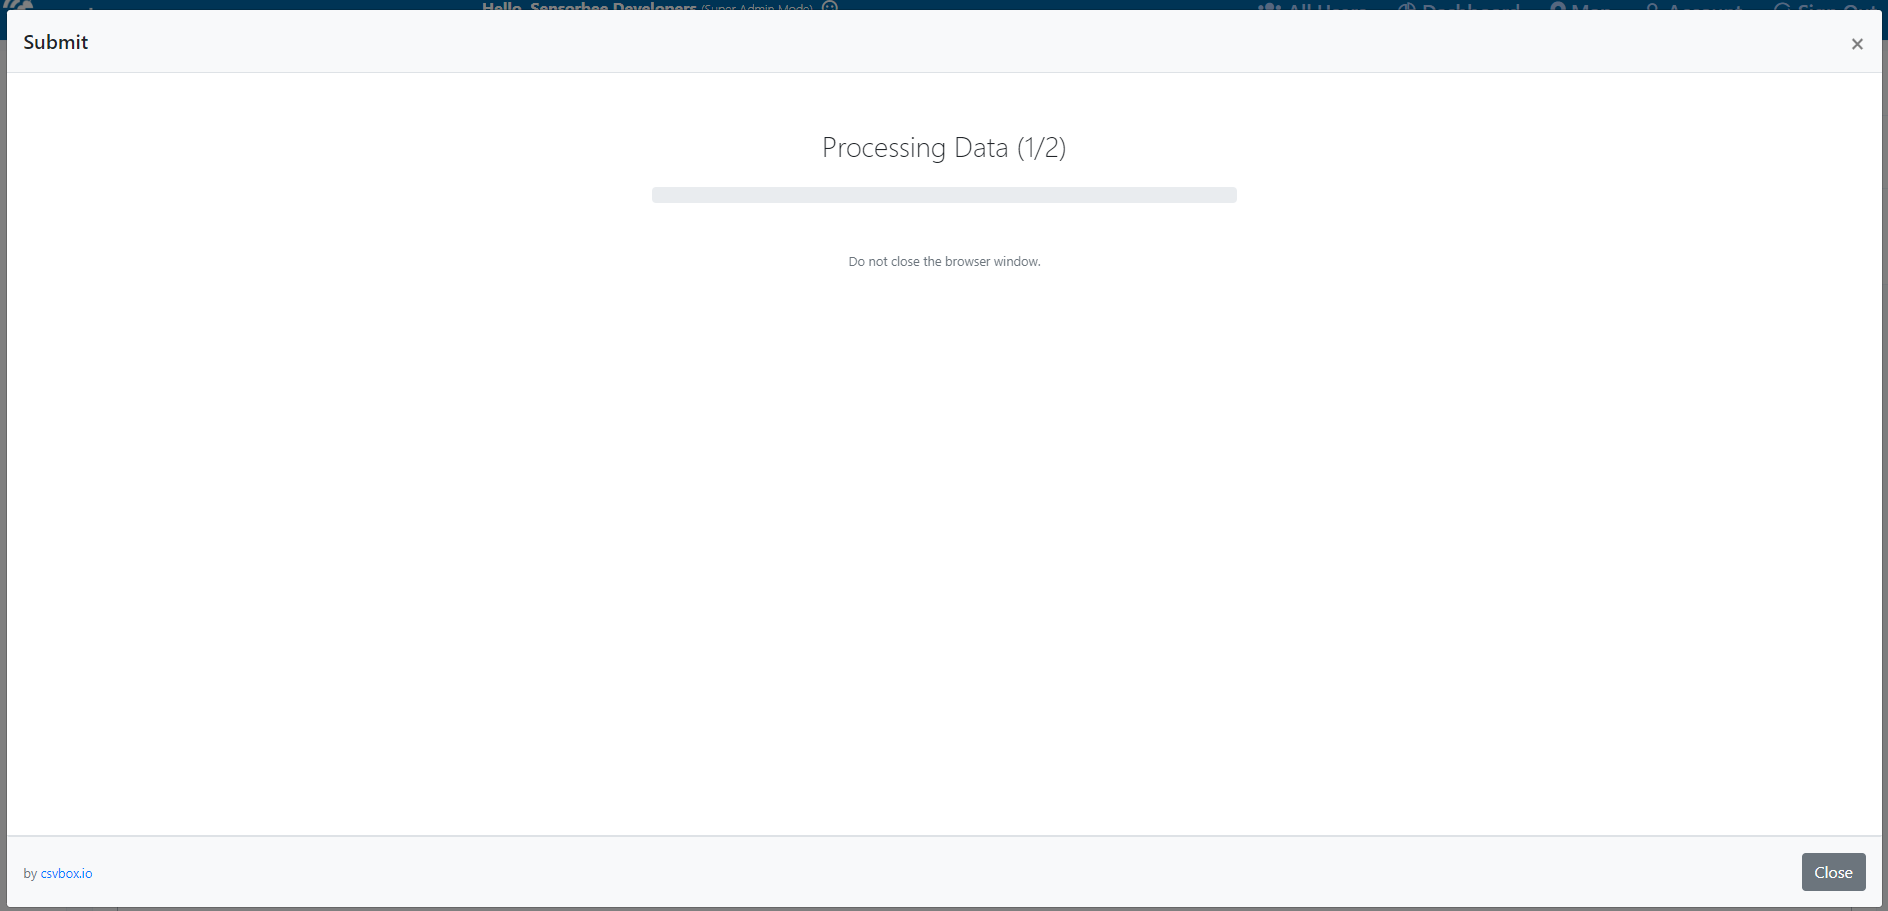
Step 8: Wait for the process to finish and the “Success” message.
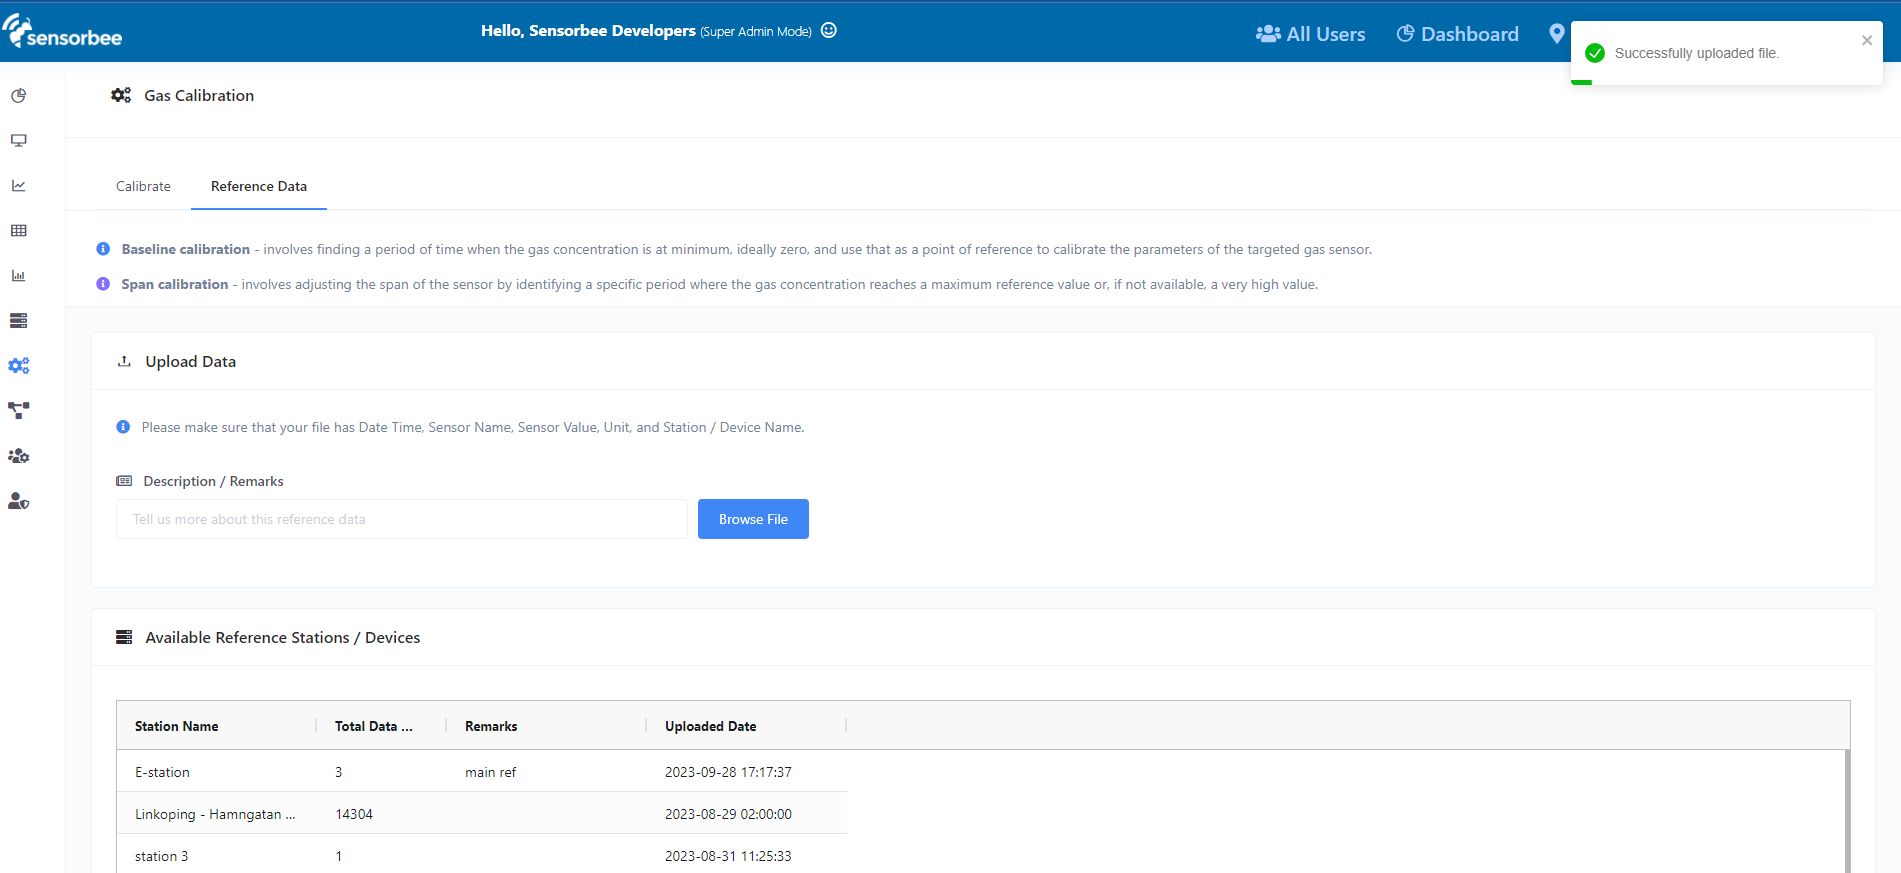
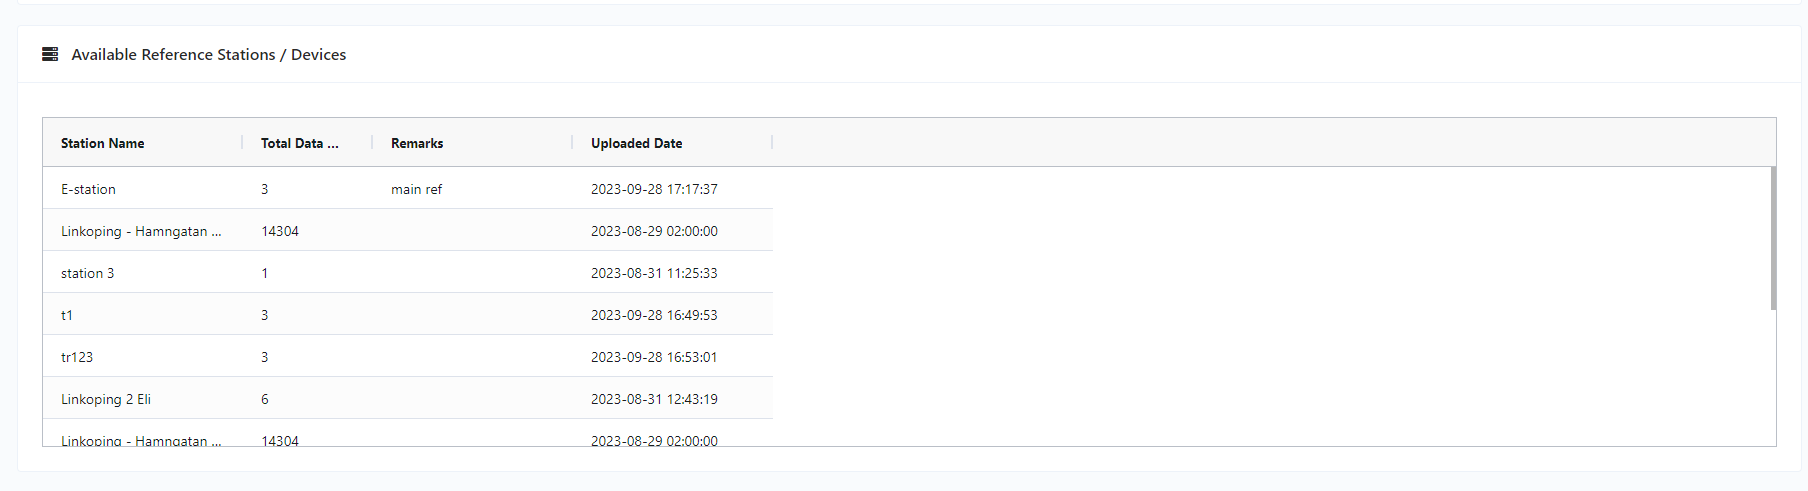
Step 9: You should be able to see a list of uploaded data per reference station / device on the “Available Reference Stations / Devices” grid below.
Step 10: You can now use the reference data in the calibration steps.