
If the unit is not already open, it needs to be opened.
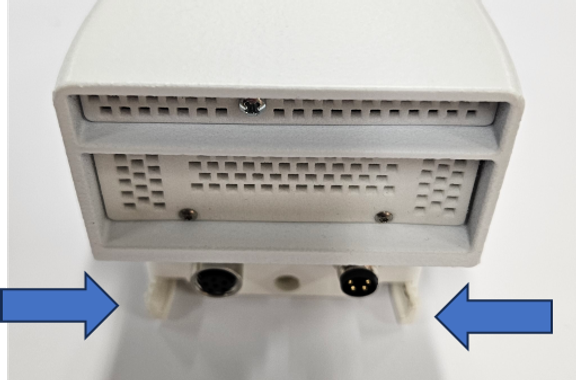
To remove the unit, first disconnect any connected cables, and then press the two tabs inward. Next, lift the unit off the mounting bracket as shown in figure 1.
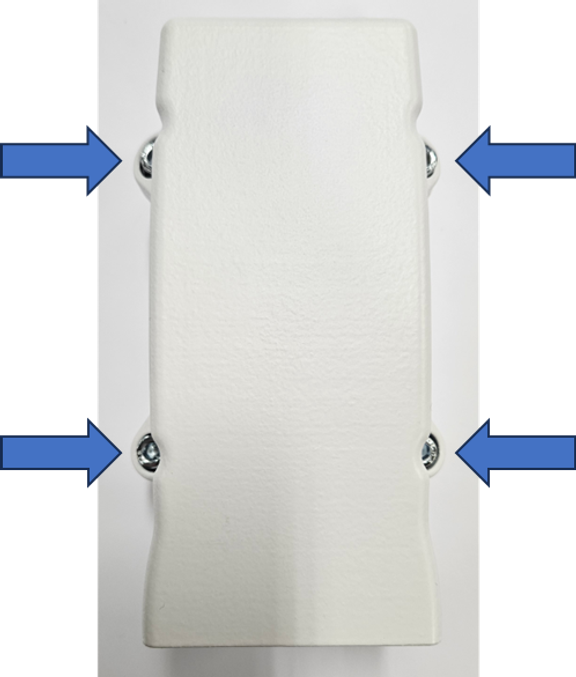
Use an PH2 Phillips screwdriver to unscrew the sensor-house from the base as shown in figure 2.
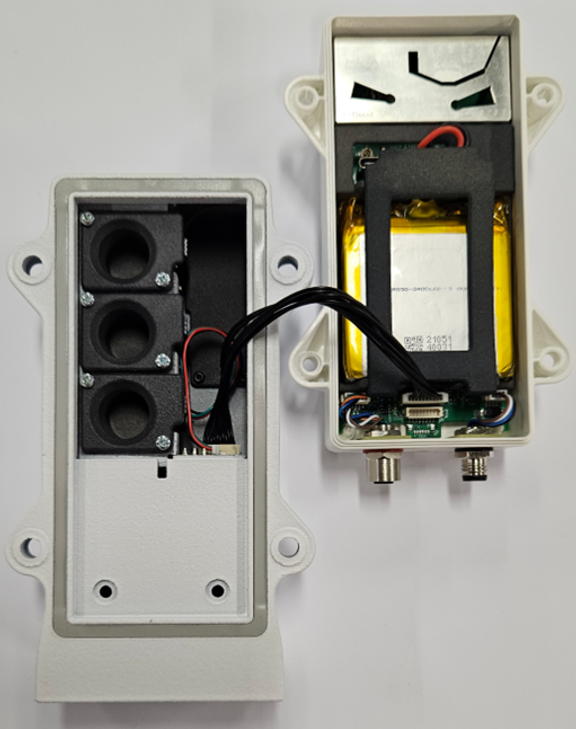
Place the sensor-house upside down next to the base, without disconnecting the cable between them as shown in figure 3.
The battery may already be connected from the factory. If so, simply reassemble the unit.
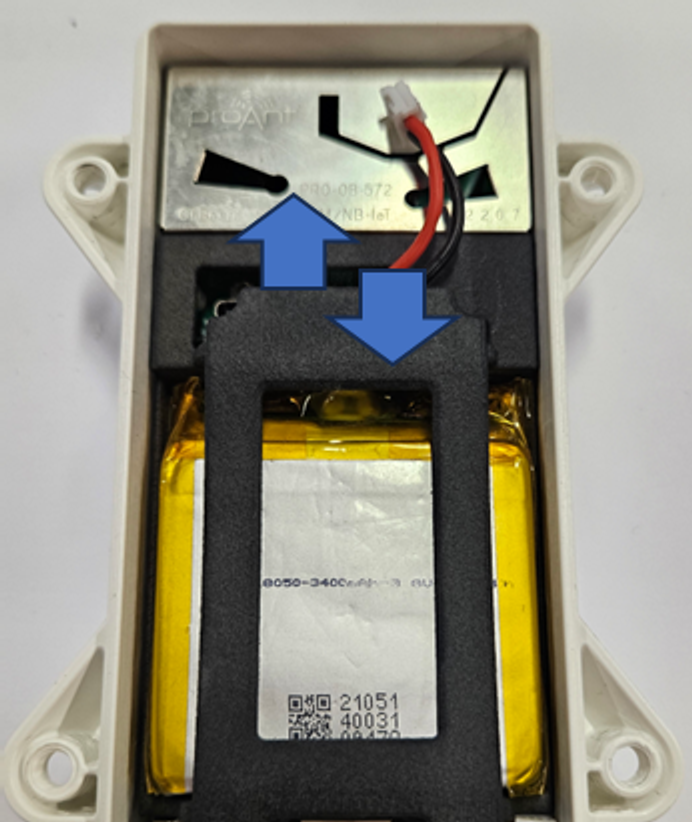
You must first remove the battery clip. This can be done by gently pressing down on the clip and twisting the edge upwards, as shown in
figure 4.
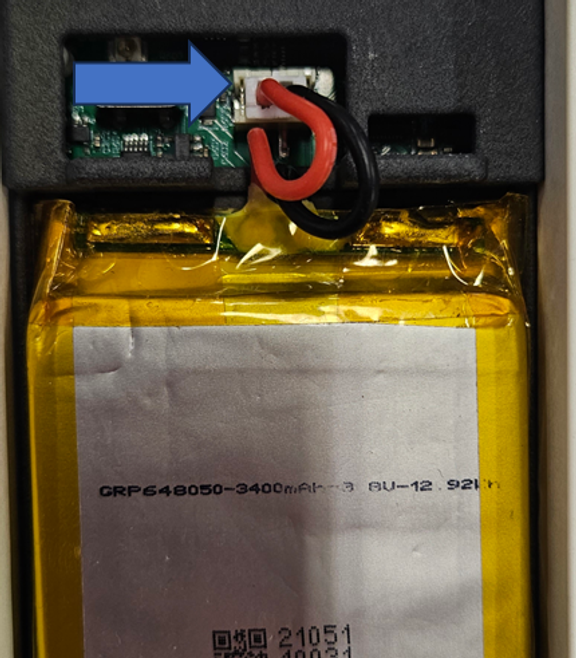
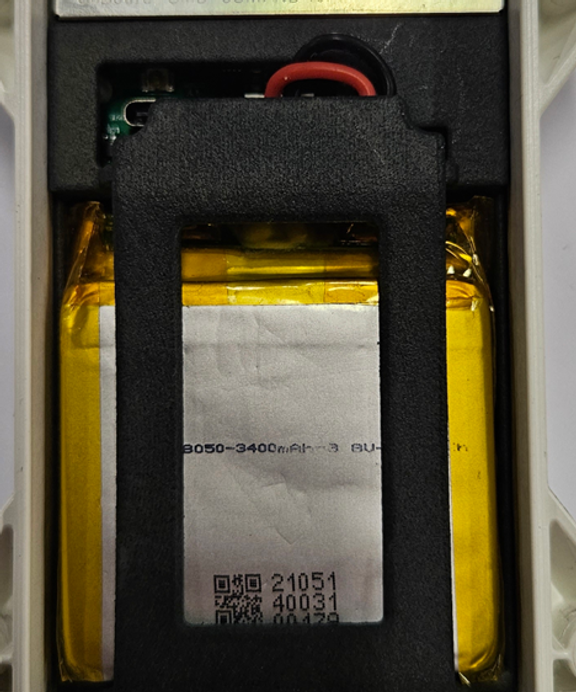
To connect the battery, insert the battery connector into the 2-pin connector located on the main board. Refer to figure 5 for illustration and put back the battery clip according to figure 6.
The red (positive) cable should be on the left side, closest to the USB-C connector. Do not connect the cables in any other direction, as this will cause permanent damage to the unit.
The unit will now operate on its internal battery. The status LED indicates booting and network status.
If the status LED is not lit or blinking, even for a short time, please double-check the battery connection to the main board. Alternatively, try using an external power supply.
Use an PH2 Phillips screwdriver to screw the sensor-house back the base as shown in figure 7.
Double check that the cable between the sensor-house and base does not get squeezed in the seal between them.
